Dashing

The exceptionally handsome dashboard framework.

Heads-up: Dashing still works great, but is no longer maintained. Read up about it over here.
You can also use the fork of the project.

Introduction

Dashing is a Sinatra based framework that lets you build beautiful dashboards.

Check out a demo over here. Here's another one, optimized for 1080p screens.

Key features:

  • Use premade widgets, or fully create your own with scss, html, and coffeescript.
  • Widgets harness the power of data bindings to keep things DRY and simple. Powered by batman.js.
  • Use the API to push data to your dashboards, or make use of a simple ruby DSL for fetching data.
  • Drag & Drop interface for re-arranging your widgets.
  • Host your dashboards on Heroku in less than 30 seconds.

This project was created at Shopify for displaying custom dashboards on TVs around the office.

Getting Started

  1. Install the gem from the command line. Make sure you have Ruby 1.9+

    $ gem install dashing

  2. Generate a new project

    $ dashing new sweet_dashboard_project

  3. Change your directory to sweet_dashboard_project and bundle gems

    $ bundle

  4. Start the server!

    $ dashing start

  5. Point your browser at localhost:3030 and have fun!


Every new Dashing project comes with sample widgets & sample dashboards for you to explore. The directory is setup as follows:

  • Assets — All your images, fonts, and js/coffeescript libraries. Uses Sprockets
  • Dashboards — One .erb file for each dashboard that contains the layout for the widgets.
  • Jobs — Your ruby jobs for fetching data (e.g for calling third party APIs like twitter).
  • Lib — Optional ruby files to help out your jobs.
  • Public — Static files that you want to serve. A good place for a favicon or a custom 404 page.
  • Widgets — All the html/css/coffee for individual widgets.

Run dashing from command line to find out what command line tools are available to you.

Example Dashboard

Here's a sample dashboard with 2 widgets. With a name of sample.erb, it becomes accessible at /sample.

Each widget is represented by a div element needing data-id and data-view attributes. The wrapping <li>tags are used for layout.

data-id: Sets the widget ID which will be used when pushing data to the widget. Two widgets can have the same widget id, allowing you to have the same widget in multiple dashboards. Push data to that id, and each instance will be updated.

data-view: Specifies the type of widget that will be used.

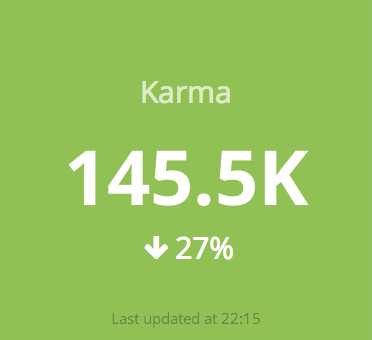
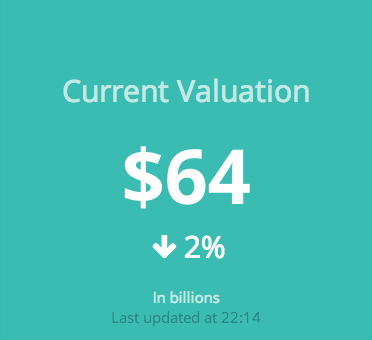
Both these widgets are of the same type: Number. However, using different data- attributes lets you customize them. You can use any arbitrary attribute you want — each one will be available for you within the widget logic.

Widget Widget

Anatomy of a widget

  • an HTML file used for layout and bindings
  • a SCSS file for styles
  • a coffeescript file which allows you to handle incoming data & functionality
Number widget's HTML:

Widgets use batman bindings in order to update their contents. Whenever the data changes, the DOM will automatically reflect the changes.

You may notice the piping '|' characters in some of the data-bind's above. These are Batman Filters, and let you easily format the representation of data.

Number widget's Coffeescript:

By default, whenever a widget receives JSON data, it mixes in the received data onto itself. This means that if you pass in data with a title attribute, the widget's title variable will change, and so will all DOM elements bound to it. No need to handle that yourself.

Laying out the widgets

Dashing uses gridster.js to create a layout for your widgets. Each widget is part of an unordered list. The <li> element for a widget contains:

  • data-row : What row the widget is on.
  • data-col : What column the widget is on
  • data-sizex : Integer size for the width of a widget
  • data-sizey : Integer size for the height of a widget

For both data-row and data-col, you can leave them as 1, and gridster will automatically position your widgets.

If you want to customize the layout easily, simply navigate to your running dashboard, and drag the widgets with your mouse. You will be prompted to save the layout when you're finished. Follow the on-screen instructions.

For data-sizex and data-sizey, these are multiples of the widget dimensions you can configure in application.coffee

Getting Data Into Your Widgets

Providing data to widgets is easy. You specify which widget you want using a widget id, and then pass in the JSON data. There are two ways to do this:

Jobs

Dashing uses rufus-scheduler to schedule jobs. You can make a new job with dashing generate job sample_job, which will create a file in the jobs directory called sample_job.rb.

Example

This job will run every minute, and will send a random number to ALL widgets that have data-id set to 'karma'.

You send data using the following method:

send_event(widget_id, json_formatted_data)

Jobs are where you put stuff such as fetching metrics from a database, or calling a third party API like Twitter. Since the data fetch is happening in only one place, it means that all instances of widgets are in sync. Server Sent Events are used in order to stream data to the dashboards.

Note that if you modify a job then Dashing needs to be restarted to pick up the changes.

API

Your widgets can be updated directly over HTTP. Post the data you want in json to /widgets/widget_id. For security, you will also have to include your auth_token (which can be found in config.ru).

Example

or

You can also perform dashboard-level actions by posting to /dashboards/dashboard_id. Currently there is a single event available, reload, that will refresh the target dashboard in the browser.

Example

If you want an event to target every dashboard, use a wildcard (*).

Example

Additional Resources

Check out the wiki for interesting tips such as hosting on Heroku, or adding authentication.

Be sure to look at the list of third party widgets.

Browser Compatibility

Tested in Chrome, Safari 6+, and Firefox 15+.

Does not work in Internet Explorer because it relies on Server Sent Events.

Authors & Maintainers

Contributors

Although this project is not being actively maintained, there are tons of widgets being added by the community; especially new widgets!

License

Dashing is released under the MIT license

Copyright 2015 - Shopify