Paragraph
React Native Skia offers an API to perform text layouts using the Skia Paragraph API.
Hello World
In the example below, we create a simple paragraph based on custom fonts. The emojis will be renderer using the emoji font available on the platform. Other system fonts are available as well.
import { useMemo } from "react";
import { Paragraph, Skia, useFonts, TextAlign, Canvas } from "@shopify/react-native-skia";

const MyParagraph = () => {
  const customFontMgr = useFonts({
    Roboto: [
      require("path/to/Roboto-Regular.ttf"),
      require("path/to/Roboto-Medium.ttf")
    ]
  });

  const paragraph = useMemo(() => {
    // Are the font loaded already?
    if (!customFontMgr) {
      return null;
    }
    const paragraphStyle = {
      textAlign: TextAlign.Center
    };
    const textStyle = {
      color: Skia.Color("black"),
      fontFamilies: ["Roboto"],
      fontSize: 50,
    };
    return Skia.ParagraphBuilder.Make(paragraphStyle, customFontMgr)
      .pushStyle(textStyle)
      .addText("Say Hello to ")
      .pushStyle({ ...textStyle, fontStyle: { weight: 500 } })
      .addText("Skia 🎨")
      .pop()
      .build();
  }, [customFontMgr]);

  // Render the paragraph
  return (
    <Canvas style={{ width: 256, height: 256 }}>
      <Paragraph paragraph={paragraph} x={0} y={0} width={300} />
    </Canvas>
  );
};
Below is the result on Android (left) and iOS (right).
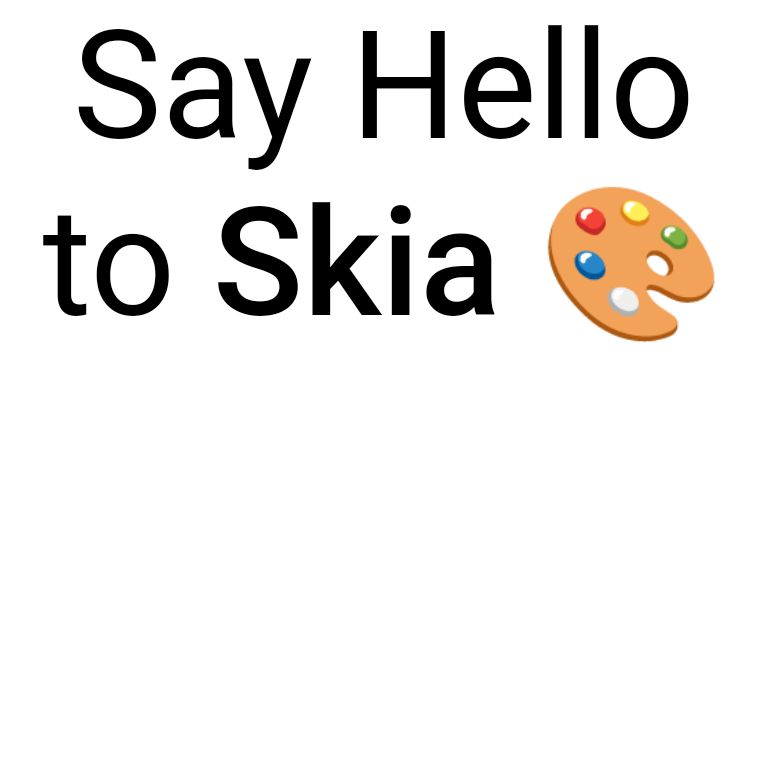
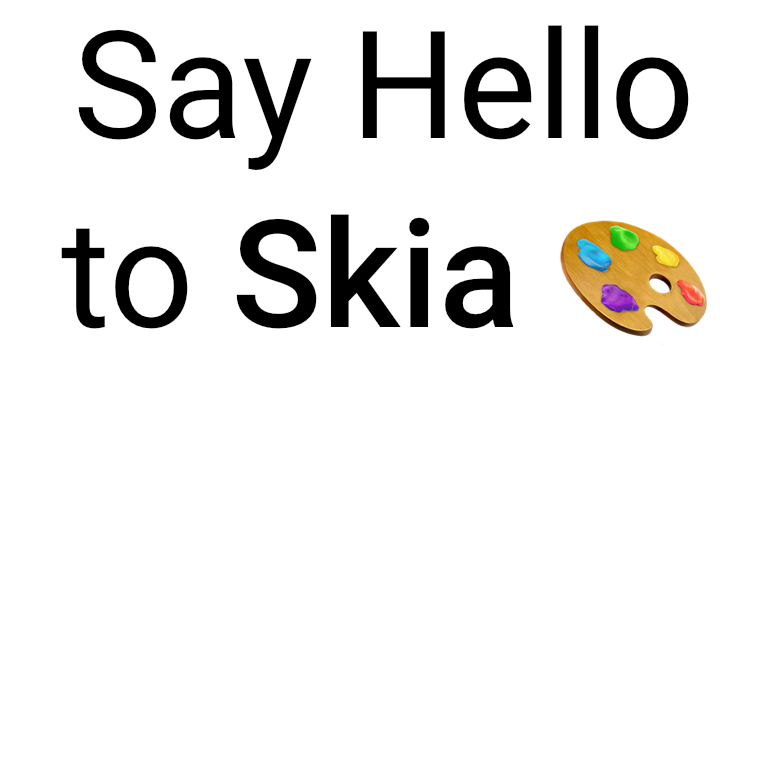
On Web, you will need to provide you own emoji font (NotoColorEmoji for instance) and add it to the list of font families.
import { useFonts, Skia } from "@shopify/react-native-skia";

const customFontMgr = useFonts({
  Roboto: [
    require("path/to/Roboto-Regular.ttf"),
    require("path/to/Roboto-Medium.ttf")
  ],
  // Only load the emoji font on Web
  Noto: [
    require("path/to/NotoColorEmoji.ttf")
  ]
});

// We add Noto to the list of font families
const textStyle = {
  color: Skia.Color("black"),
  fontFamilies: ["Roboto", "Noto"],
  fontSize: 50,
};
Using Paints
You can use paint objects for the foreground and the background of a text style.
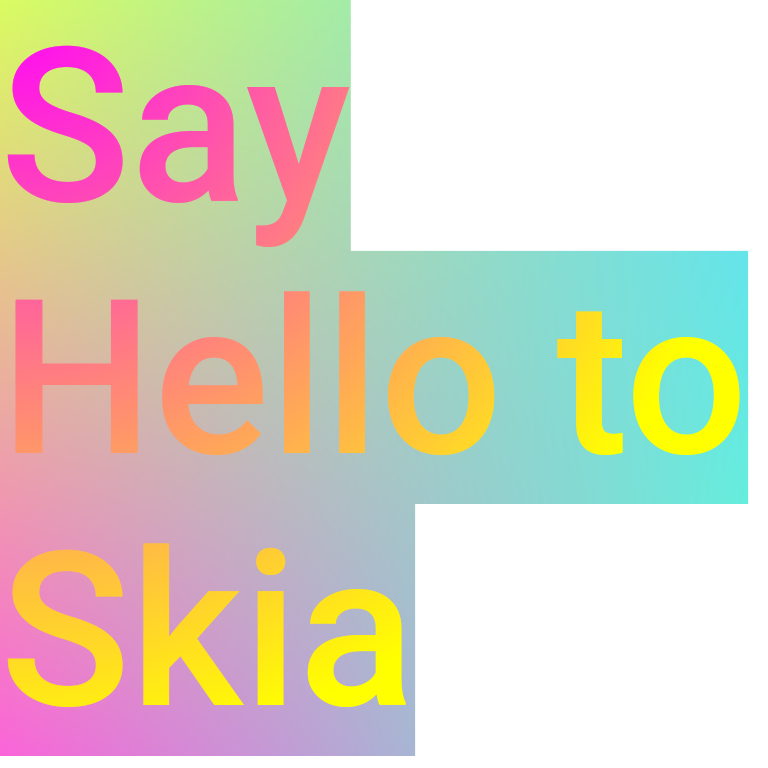
Below we use a foreground and a background paint on a text style:
import { useMemo } from "react";
import { Paragraph, Skia, useFonts, Canvas, Rect, TileMode } from "@shopify/react-native-skia";

// Our background shader
const source = Skia.RuntimeEffect.Make(`
uniform vec4 position;
uniform vec4 colors[4];

vec4 main(vec2 pos) {
  vec2 uv = (pos - vec2(position.x, position.y))/vec2(position.z, position.w);
  vec4 colorA = mix(colors[0], colors[1], uv.x);
  vec4 colorB = mix(colors[2], colors[3], uv.x);
  return mix(colorA, colorB, uv.y);
}`)!;

// Define an array of colors for the gradient to be used in shader uniform
const colors = [
  // #dafb61
  0.85, 0.98, 0.38, 1.0,
  // #61dafb
  0.38, 0.85, 0.98, 1.0,
  // #fb61da
  0.98, 0.38, 0.85, 1.0,
  // #61fbcf
  0.38, 0.98, 0.81, 1.0
];

const MyParagraph = () => {
  const paragraph = useMemo(() => {

    // Create a background paint.
    const backgroundPaint = Skia.Paint();
    backgroundPaint.setShader(
      source.makeShader([0, 0, 256, 256, ...colors])
    );

    // Create a foreground paint. We use a radial gradient.
    const foregroundPaint = Skia.Paint();
    foregroundPaint.setShader(
      Skia.Shader.MakeRadialGradient(
        { x: 0, y: 0 },
        256,
        [Skia.Color("magenta"), Skia.Color("yellow")],
        null,
        TileMode.Clamp
      )
    );

    const para = Skia.ParagraphBuilder.Make()
     .pushStyle(
        {
          fontFamilies: ["Roboto"],
          fontSize: 72,
          fontStyle: { weight: 500 },
          color: Skia.Color("black"),
        },
        foregroundPaint,
        backgroundPaint
      )
      .addText("Say Hello to React Native Skia")
      .pop()
      .build();
    return para;
  }, []);
  return (
    <Canvas style={{ width: 256, height: 256 }}>
      <Paragraph paragraph={paragraph} x={0} y={0} width={256} />
    </Canvas>
  );
};
Applying Effects
The Paragraph component doesn't follow the same painting rules as other components.
However you can apply effets using the layer property.
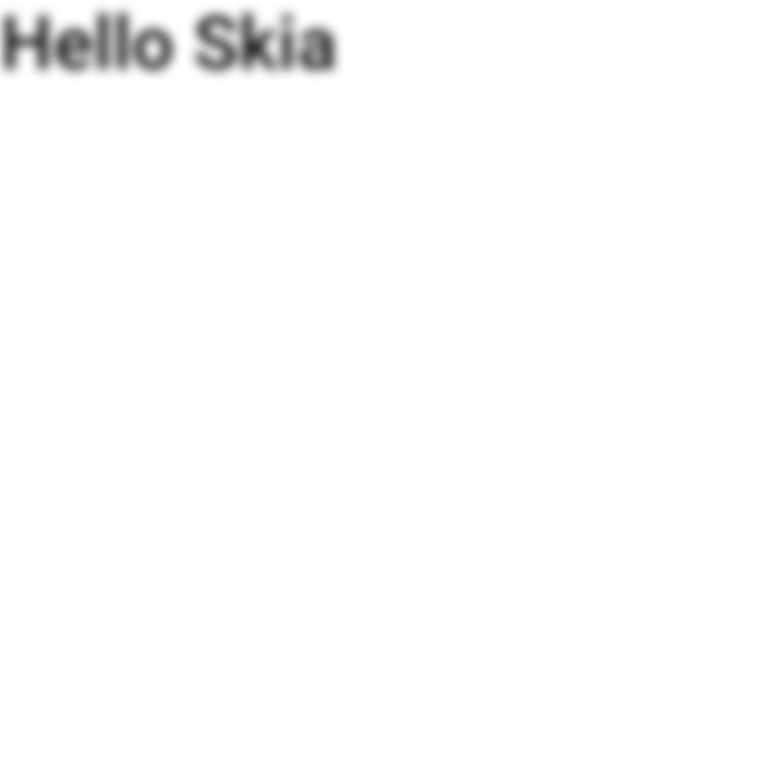
For instance, in the example below, we apply a blur image filter.
import React from "react";
import { Canvas, Skia, Group, Paint, Blur, Paragraph } from "@shopify/react-native-skia";

const width = 256;
const height = 256;

export const Demo = () => {
  const paragraph = Skia.ParagraphBuilder.Make()
          .pushStyle({
            color: Skia.Color("black"),
            fontSize: 25,
          })
          .addText("Hello Skia")
          .build();
  return (
    <Canvas style={{ flex: 1 }}>
      <Group layer={<Paint><Blur blur={10} /></Paint>}>
        <Paragraph paragraph={paragraph} x={0} y={0} width={width} />
      </Group>
    </Canvas>
  );
};
Result
Paragraph Bounding Box
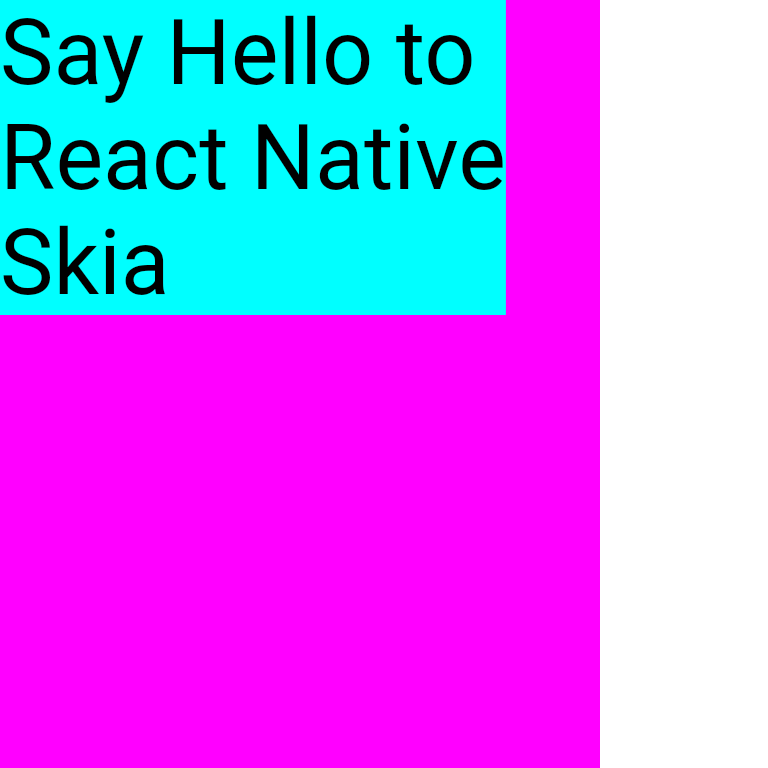
Before getting the paragraph height and width, you need to compute its layout using layout() and once done, you can invoke getHeight() for the height and getLongestLine() for the width.
import { useMemo } from "react";
import { Paragraph, Skia, useFonts, Canvas, Rect } from "@shopify/react-native-skia";

const MyParagraph = () => {
  const paragraph = useMemo(() => {
    const para = Skia.ParagraphBuilder.Make()
      .addText("Say Hello to React Native Skia")
      .build();
    // Calculate the layout
    para.layout(200);
    return para;
  }, []);
  // Now the paragraph height is available
  const height = paragraph.getHeight();
  const width = paragraph.getLongestLine();
  // Render the paragraph
  return (
    <Canvas style={{ width: 256, height: 256 }}>
      {/* Maximum paragraph width */}
      <Rect x={0} y={0} width={200} height={256} color="magenta" />
      {/* Paragraph bounding box */}
      <Rect x={0} y={0} width={width} height={height} color="cyan" />
      <Paragraph paragraph={paragraph} x={0} y={0} width={200} />
    </Canvas>
  );
};
Glyph-Tight Bounds
getPath() and extendedVisit() are not available on Web.
getHeight(), getLineMetrics(), and getRectsForRange() are all based on font metrics: they reserve the full ascent and descent of the fonts on each line, regardless of the glyphs actually present. For instance, "Hello" and "Typography" report the same height even though only the latter has descenders.

To measure the exact ink bounds of the rendered text (with font fallbacks already applied), convert a line into a path with getPath(lineNumber) and compute its tight bounds. Note that color glyphs (e.g. emojis) cannot be converted to a path and are skipped.
import { Skia } from "@shopify/react-native-skia";

const paragraph = Skia.ParagraphBuilder.Make()
  .addText("Hello")
  .build();
paragraph.layout(200);
// The metrics-based height (reserves ascent + descent)
const height = paragraph.getHeight();
// The exact bounds of the glyphs on the first line
const inkBounds = paragraph.getPath(0)!.computeTightBounds();
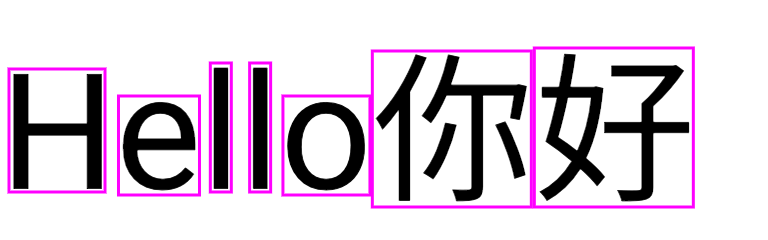
For full access to the computed layout, extendedVisit(visitor) invokes the visitor once for every run of glyphs with the resolved font (after fallback), glyph ids, positions and per-glyph tight ink bounds, and once with a null info to signal the end of each line.
import { Skia } from "@shopify/react-native-skia";

const paragraph = Skia.ParagraphBuilder.Make()
  .addText("Hello你好")
  .build();
paragraph.layout(200);
paragraph.extendedVisit((lineNumber, info) => {
  if (info === null) {
    // End of the line
    return;
  }
  // The index of the line this run belongs to
  const line = lineNumber;
  // The font resolved for this run (e.g. a fallback font for CJK glyphs)
  const font = info.font;
  // Per-glyph ids, positions and tight ink bounds.
  // Positions are relative to the run origin: add info.origin to get
  // paragraph coordinates (fallback runs carry their placement in origin).
  const { glyphs, positions, bounds } = info;
});
Below, the tight ink bounds of every glyph are drawn on top of the paragraph, including the CJK glyphs resolved via font fallback.
Fonts
By default, the paragraph API will use the system fonts. You can also use custom fonts with this API as well.
The useFonts hooks allows you to load custom fonts to be used for your Skia drawing.
The font files should be organized by family names.
For example:
import {useFonts} from "@shopify/react-native-skia";

const fontMgr = useFonts({
  Roboto: [
    require("./Roboto-Medium.ttf"),
    require("./Roboto-Regular.ttf"),
    require("./Roboto-Bold.ttf"),
  ],
  Helvetica: [require("./Helvetica.ttf")],
});
if (!fontMgr) {
  // Returns null until all fonts are loaded
}
// Now the fonts are available
You can also list the available system fonts via listFontFamilies() function.
Styling Paragraphs
These properties define the overall layout and behavior of a paragraph.
| Property | Description |
|---|---|
disableHinting | Controls whether text hinting is disabled. |
ellipsis | Specifies the text to use for ellipsis when text overflows. |
heightMultiplier | Sets the line height as a multiplier of the font size. |
maxLines | Maximum number of lines for the paragraph. |
replaceTabCharacters | Determines whether tab characters should be replaced with spaces. |
strutStyle | Defines the strut style, which affects the minimum height of a line. |
textAlign | Sets the alignment of text (left, right, center, justify, start, end). |
textDirection | Determines the text direction (RTL or LTR). |
textHeightBehavior | Controls the behavior of text ascent and descent in the first and last lines. |
textStyle | Default text style for the paragraph (can be overridden by individual text styles). |
Below is an example to center text with textAlign property:
import { useMemo } from "react";
import { Paragraph, Skia, TextAlign, Canvas, Rect } from "@shopify/react-native-skia";

const MyParagraph = () => {
  const paragraph = useMemo(() => {
    const para = Skia.ParagraphBuilder.Make({
          textAlign: TextAlign.Center,
      })
      .addText("Say Hello to React Native Skia")
      .build();
    return para;
  }, []);

  // Render the paragraph with the text center
  return (
    <Canvas style={{ width: 256, height: 256 }}>
      <Paragraph paragraph={paragraph} x={0} y={0} width={200} />
    </Canvas>
  );
};
Text Style Properties
These properties are used to style specific segments of text within a paragraph.
| Property | Description |
|---|---|
backgroundColor | Background color of the text. |
color | Color of the text. |
decoration | Type of text decoration (underline, overline, line-through). |
decorationColor | Color of the text decoration. |
decorationThickness | Thickness of the text decoration. |
decorationStyle | Style of the text decoration (solid, double, dotted, dashed, wavy). |
fontFamilies | List of font families for the text. |
fontFeatures | List of font features. |
fontSize | Font size of the text. |
fontStyle | Font style (weight, width, slant). |
fontVariations | Font variations. |
foregroundColor | Foreground color (for effects like gradients). |
heightMultiplier | Line height as a multiple of the font size (see Line Height). |
halfLeading | Distributes the extra line height evenly above and below the text. |
letterSpacing | Space between characters. |
locale | Locale for the text (affects things like sorting). |
shadows | List of text shadows. |
textBaseline | Baseline for the text (alphabetic, ideographic). |
wordSpacing | Space between words. |
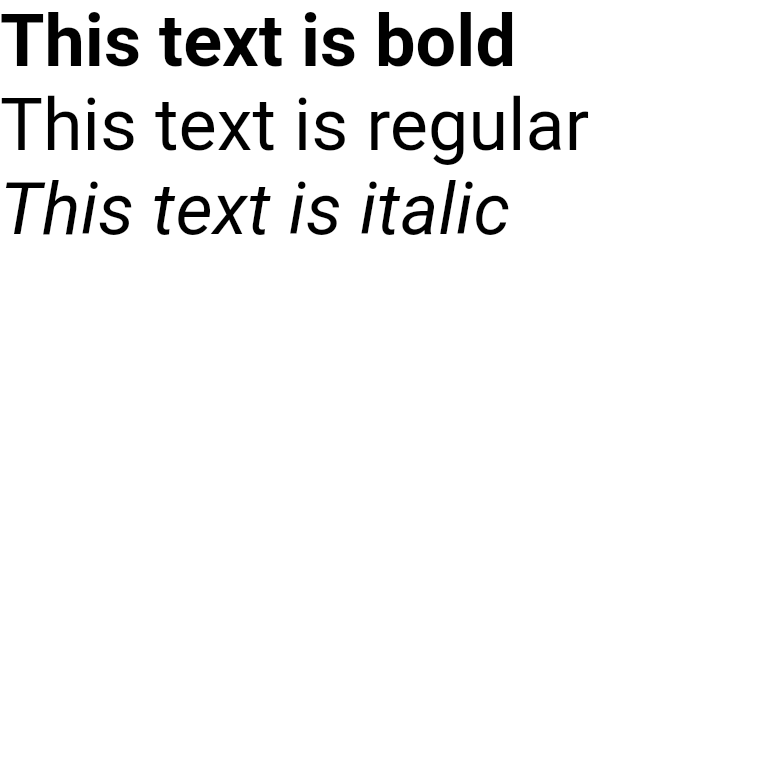
These tables offer a quick reference to differentiate between paragraph and text styles in React Native Skia. You can use them to guide developers on how to apply various styles to create visually appealing and functional text layouts. Below is an example using different font styling:
import { useMemo } from "react";
import { Paragraph, Skia, useFonts, FontStyle } from "@shopify/react-native-skia";

const MyParagraph = () => {
  const customFontMgr = useFonts({
    Roboto: [
        require("path/to/Roboto-Italic.ttf"),
        require("path/to/Roboto-Regular.ttf"),
        require("path/to/Roboto-Bold.ttf")
    ],
  });

  const paragraph = useMemo(() => {
    // Are the custom fonts loaded?
    if (!customFontMgr) {
      return null;
    }
    const textStyle = {
      fontSize: 24,
      fontFamilies: ["Roboto"],
      color: Skia.Color("#000"),
    };

    const paragraphBuilder = Skia.ParagraphBuilder.Make({}, customFontMgr);
    paragraphBuilder
      .pushStyle({ ...textStyle, fontStyle: FontStyle.Bold })
      .addText("This text is bold\n")
      .pop()
      .pushStyle({ ...textStyle, fontStyle: FontStyle.Normal })
      .addText("This text is regular\n")
      .pop()
      .pushStyle({ ...textStyle, fontStyle: FontStyle.Italic })
      .addText("This text is italic")
      .pop()
      .build();
    return paragraphBuilder.build();
  }, [customFontMgr]);

  return <Paragraph paragraph={paragraph} x={0} y={0} width={300} />;
};
Result
Line Height
Skia has no absolute lineHeight property like CSS or React Native.
Instead, the text style has a heightMultiplier property: the line height is exactly heightMultiplier * fontSize pixels.
This means you can emulate lineHeight with the following formula:
heightMultiplier = lineHeight / fontSize
For instance, fontSize: 24 with heightMultiplier: 40 / 24 produces lines that are exactly 40 pixels tall.
When heightMultiplier is not set, the line height comes from the font metrics (ascent + descent), which is usually larger than the font size and differs from font to font.
Since heightMultiplier is a text style property, it can also be used to normalize line heights when mixing fonts or font sizes: give each style a heightMultiplier of lineHeight / fontSize and every line will have the same height, regardless of the natural metrics of each font.
import { useMemo } from "react";
import { Paragraph, Skia, useFonts, Canvas } from "@shopify/react-native-skia";

const MyParagraph = () => {
  const customFontMgr = useFonts({
    Roboto: [require("path/to/Roboto-Regular.ttf")],
    "Noto Sans SC": [require("path/to/NotoSansSC-Regular.otf")],
  });

  const paragraph = useMemo(() => {
    if (!customFontMgr) {
      return null;
    }
    // Every line will be exactly 40px tall, like lineHeight: 40 in CSS
    const lineHeight = 40;
    const paragraphBuilder = Skia.ParagraphBuilder.Make({}, customFontMgr);
    paragraphBuilder
      .pushStyle({
        color: Skia.Color("black"),
        fontFamilies: ["Roboto"],
        fontSize: 24,
        heightMultiplier: lineHeight / 24,
      })
      .addText("Hello\n")
      .pop()
      .pushStyle({
        color: Skia.Color("black"),
        fontFamilies: ["Noto Sans SC"],
        fontSize: 16,
        heightMultiplier: lineHeight / 16,
      })
      .addText("你好")
      .pop();
    return paragraphBuilder.build();
  }, [customFontMgr]);

  return (
    <Canvas style={{ width: 256, height: 256 }}>
      <Paragraph paragraph={paragraph} x={0} y={0} width={256} />
    </Canvas>
  );
};
By default, the extra space added by heightMultiplier is distributed proportionally to the font's ascent and descent.
Setting halfLeading: true splits the extra space evenly above and below the text instead (like CSS half-leading); the line height stays the same but the text sits higher within the line.